Marvel Arc Reactor Shirt: Modification
I have dabbled with arc reactor costuming before, so when I learned of an official licensed arc reactor shirt from Marvel I jumped at the opportunity. What I got was a good product. Plenty bright to be seen behind a black shirt. The arc reactor runs on AAA batteries and is velcro removable for washing the shirt.
I bought mine from ThinkGeek for $30.
The only problem I found with the shirt was the shirt itself. The arc reactor is not heavy but is enough that it pulls down the collar of the shirt, making it sit awkward on your chest. In addition, the shirt wasn’t comfortable. I wear a large, so I ordered a large. For a large, the shirt felt tight in all the wrong places.
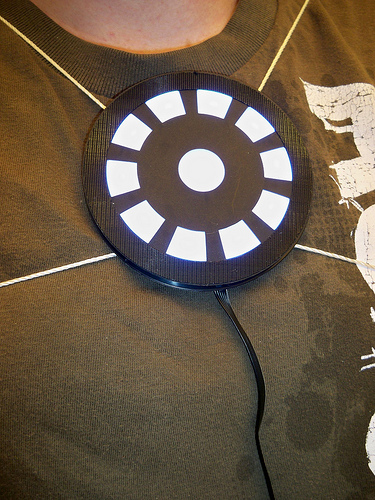
Since I loved this simple arc reactor, I decided to do a little project using my previous experience and convert the arc reactor to a standalone wearable without the shirt. Assuring that the arc reactor will sit centered on my chest without drooping.
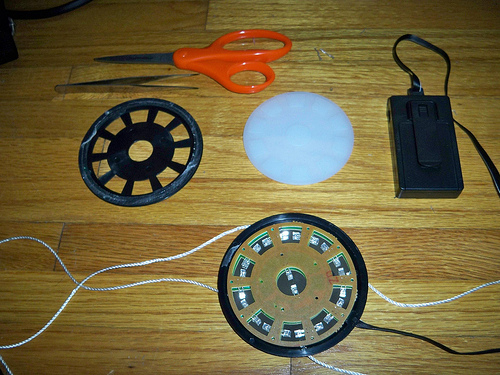
Tools Needed
- Scissors
- Drill
- Pliers / Tweezers
Build Part List
- Official Marvel: Tony Stark Light up LED Iron Man Shirt
- Nylon Rope
- Double-Sided Tape, Optional
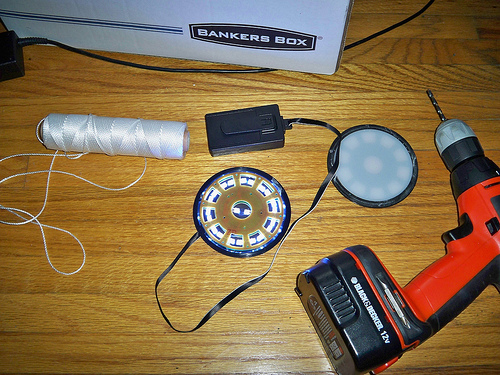
Start by removing the arc reactor from the shirt, the velco pulls easily. Pop the cord out from the battery back (small clip connector), don’t force. Then de-thread the wire from the inner cloth of the shirt.
With the arc reactor removed from the shirt you can now pry off the top casing of the arc reactor. The top casing is held on by some adhesive but gives way with some mild force.
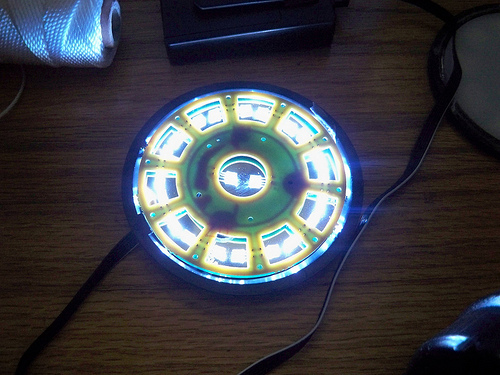
Can turn on the lights to check you didn’t break anything. Overall, is durable, but you never know about those LEDs. Plus it looks cool :P
Time to break out the drill. The smooth plastic surface is a little difficult to drill into, a pilot hole would help. You need to be very careful when drilling into the back casing. The LEDs and reflector are close to the casing wall. Do not drill holes into either of these, only drill a hole into the back casing wall.
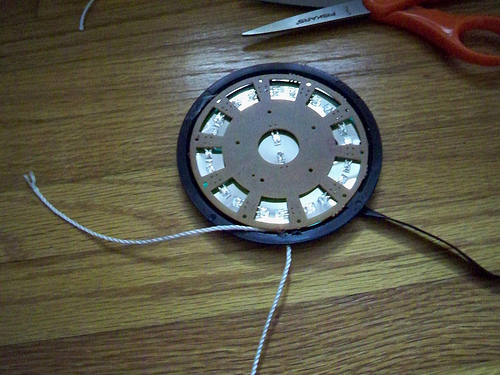
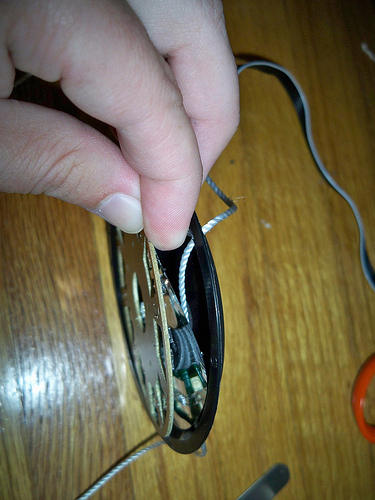
Thread the first length of rope. The length should be long enough to wrap around your arm to chest, can always trim down later. I made mine 3 feet each. Nylon twine likes to unravel when cut, I used a tweezers to help push all the fibers through the hole.
Thread the rope through to the next hole. Two for the left strap. Two for the right strap. When pulling the rope through, be sure that the rope ends up behind the LEDs and metallic reflector. The rope in front would cause unwanted shadows.
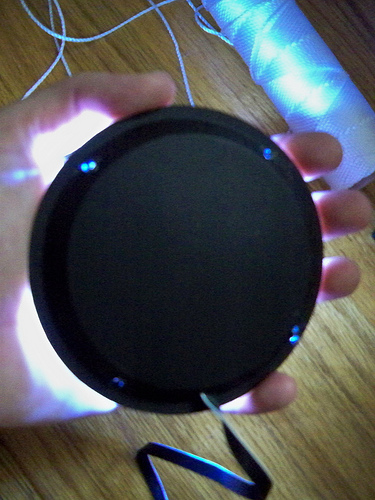
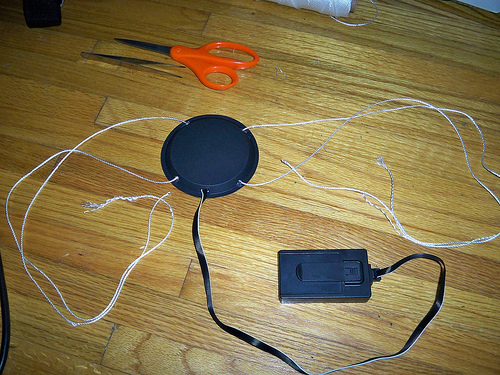
Now that your rope is pulled through into place, but not yet tied in a know for sizing, it is time to put the lid back on the arc reactor assembly. The adhesive on the top cover is still good. Use double-sided tape to re-attach if needed (I didn’t).
When placing the cover back on, alignment is important. The rubber diffuser has grooves to follow, is easy to align with the top cover. Aligning the top cover with diffuser attached to the rear casing is more tricky. I found it easier to do this with the LEDs turned on.
Hold the cover as close to the casing as you can without sticking the adhesive, then line up the shadows in the light with the black portions of the top lid.
You should now have a nearly completed wearable arc reactor. Just need to size the strapping to your body. Take your arc reactor rig to a mirror. Place the arc reactor where you want it on your chest, then loop one of the straps around one of your arms.
Pull the strap tight and pinch the spot with your fingers, then take off the rig and tie a knot in that spot.
Repeat for the second strap.
Once all done, the arc reactor should be centered on your chest and feel snug but not tight. If you tie the knot in the wrong place, un-tie and try again.
The last step is trimming the excess rope. Leaving an inch or two for future adjustments.
I took more pictures during this project. You can view them on my flickr: Marvel Arc Reactor Shirt: Modification
